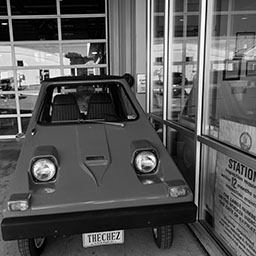
Quite a bit has happened since the last post where the majority of my nights and weekends were focused on the CitiCar, and a bit exhausted by time I’m done for the day. The videos were still being posted, but I just didn’t have the mental willpower to write up a detailed account of what was done. here is a brief summary of the last two weeks.
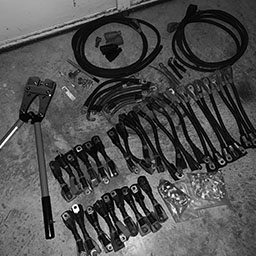
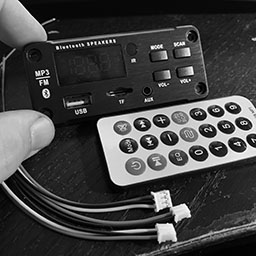
Battery cables
2015 Chevy Volt lithium batteries and charger installed into car and connected in parallel with cables from an old EV and a few battery cables that I made myself from materials provided by a local CitiCar enthusiast.
Battery terminal side-brackets installed.
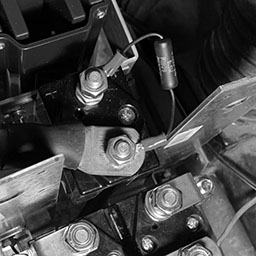
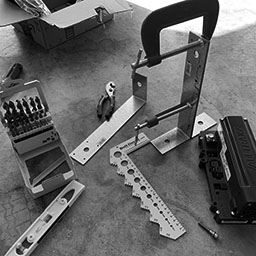
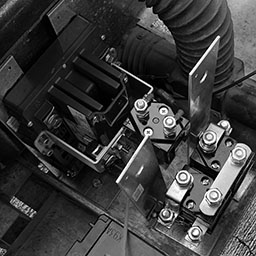
Main Fuse & Switch
Installed an ANL fuse box to hold the 400 amp ANN fuse. “Sculpted” the cover to make it fit over the thick 2/0 cables and lugs connected to it.
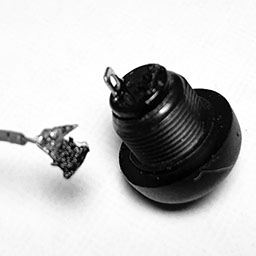
Installed a heavy duty switch to disconnect the power that could handle the large number of amps that the motor will draw from the batteries. Purchased some screws at the hardware store to mount the switch.
Continuing to add cables along the path from the positive battery terminal to a switch, fuse, contactor, etc. Cleaning battery acid from cable lugs donated from another EV.
Fuse box mount
Created a backplate to mount a new 12 volt fuse block out of diamond plate aluminum, and mounted it into the car where the accessory battery had previously sat.
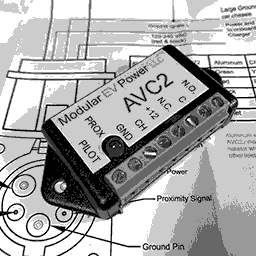
Wired up chargers charging wires. Zip-tied the extension cable going to the J1772 adapter along the cars frame. Ran 10 gauge wire to the front of the car, specifically to run the 12 volt DC-to-DC converter and to control the motor controller and contactors from the dashboard.
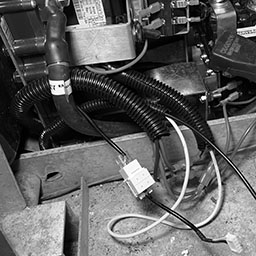
Installing DC2DC
Wrapped power supply cable to the front of the car with split tubing to protect it.
Installed a 20 amp 12 volt power supply in the CitiCar to convert the batteries 48v power supply to 12v. At most, it can handle 240 watts.
Added a LED light strip with a switch.
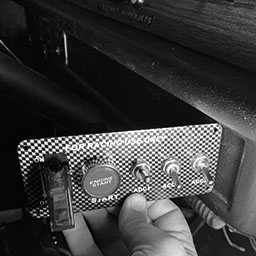
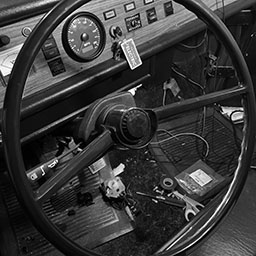
Powered Dashboard
Connect the dashboard to the 12v fuse block. Wire up the frame to the 12v negative. The cabin light is unable to get power. The original contactors are still activating.
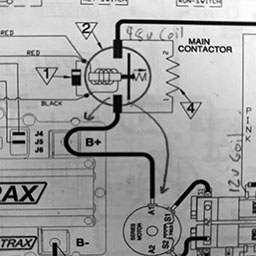
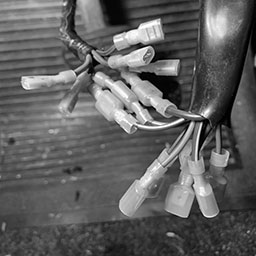
Wires and Switches
Painting battery cables red. Starting to prepare other cables to paint.
Comparing two separate motor reversing SW202 style switches. Changing from 12v coils to 48v coils to simplify wiring and reduce the need for relays.
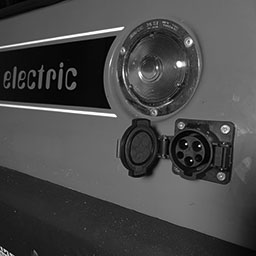
Change the old 120v charger cable into an extension cord by adding a NEMA 5-20R receptacle socket. Added a second charging cable plug to the car so that the batteries can be charged via J1772 in the back, or 120v on the side by changing which cord is plugged into the back of the charger.
Painting Battery Cables
Painting battery cables with Plasti Dip to indicate how they are connected to the batteries. Added heat shrink where it was missing. Cut off rubber terminal covers. Wrapped up terminal ends with painters tape.
- Red – Positive, and motor A1
- Black – Negative, and motor A2
- White – Motor Negative
- Blue – Motor S1
- Green – Motor S2
Painting battery covers.
Plasti Dip Battery Modules
Continuing painting battery cables and the battery covers on the 2015 Chevy Volt battery modules. Problems with using painting tape to paint two colors of Plasti Dip, as well as an unexpected early morning rain getting things wet. Cleaning up and painting battery modules blue for a more appealing look. Finish painting the battery cables.
Finish Battery & Cables Paint
Finish painting the battery volt modules and peel off the painters tape. Clean and neutralize battery acid on battery cable lugs.
Clean and neutralize acid on passenger side battery box floor. Start laying down thermal layer and toolbox liner.
Improve technique to peel painters tape from wet Plasti Dip to have nice hard edges.
Added some corrasion/oxidizing protector to battery cable lugs and battery box floor.
Battery Box Liner
Line the battery compartment of the CitiCar with toolbox liner. The liner is preferred because it is non-conductive. The frame of the car is conductive and wired to the battery negative, so this helps prevent a short in case a battery positive wire accidentally touches the frame. The thermal barrier may help with battery temperatures and a little extra padding for bumpy rides.
Drivers side was neutralized. Corrosion protector was removed, as it left an oily residue and wouldn’t be suitable for applying adhesives to keep the toolbox liner attached.
High Voltage Stickers
Created some battery labels to warn about high voltage, and to provide details about the batteries.
Drivers Side Batteries Installed
Re-installing the drivers side painted batteries, main switch, and fuse after lining the battery box with toolbox liner.
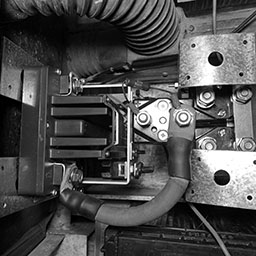
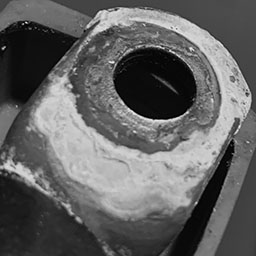
Battery Terminal Caps
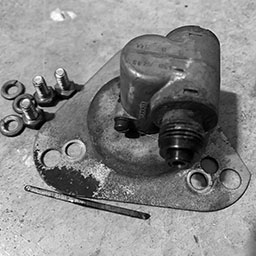
Cut motor mounting brackets down further with new diamond cutting wheels. More battery cables were installed. Created caps to protect exposed terminals from moldable plastic that melts in warm water. Installed shunt in a different position for easier access to plug in wires.
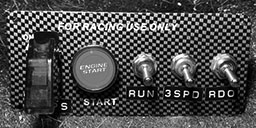
Powertrain Test
Wired up the motor and motor reversing switch. Setup switch and diodes on the front of the car to activate the contactors and let the motor controller know if the vehicle is moving in reverse.
CitiCar Runs Again
Troubleshoot contactor activation. Reverse direction of Forward/Reverse diodes. Got the wheels to spin (and in the correct direction). Go on a test drive.
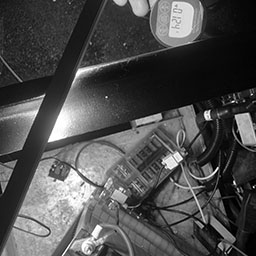
Alltrax Troubleshooting
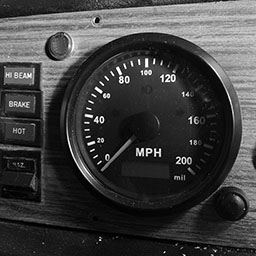
Configure motor controller to accelerate faster, adjust voltage limits, and provide more amps to the motor. Since the motor was just replaced, I topped off the differential fluid. The speedometer wasn’t turning on, so I replaced it with a spare that I had laying around. Drove into town and ran into problems on the way back home with a burnt fuse and a disconnected high-pedal switch on the throttle.